Paraglider trimming bench
Measure your lines with a laser, under 5 kg, with two 3D-printed parts: 7 files for the bench, a holder sized for your distance meter, €30 of hardware.
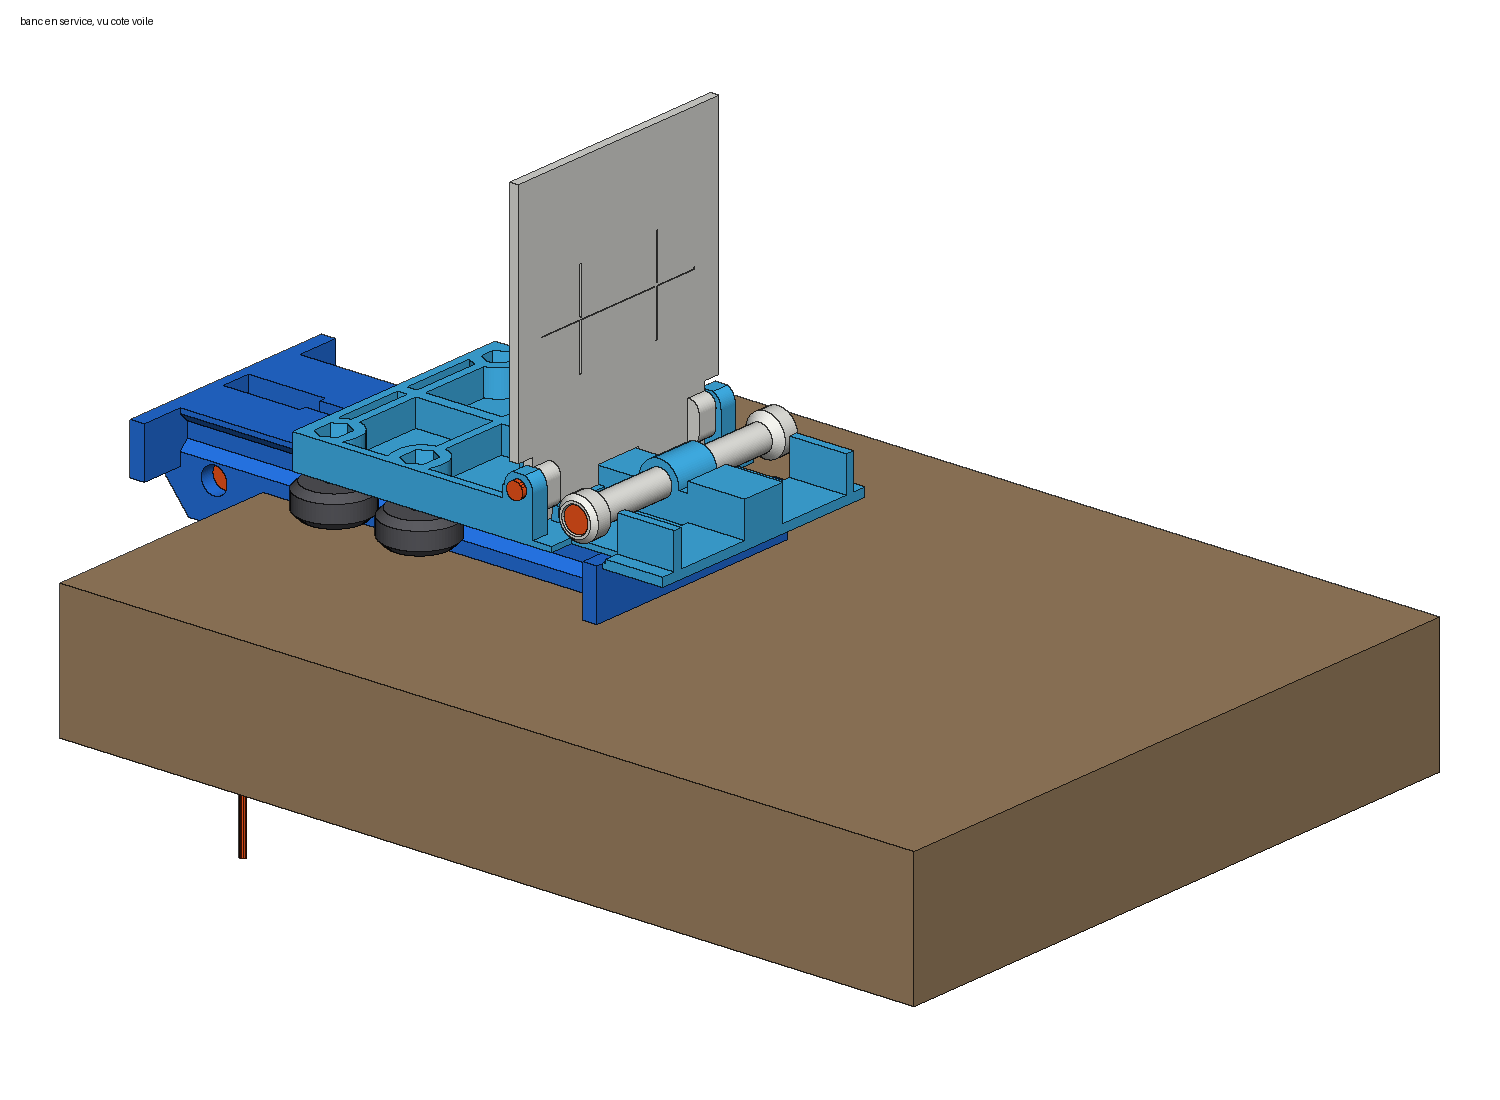
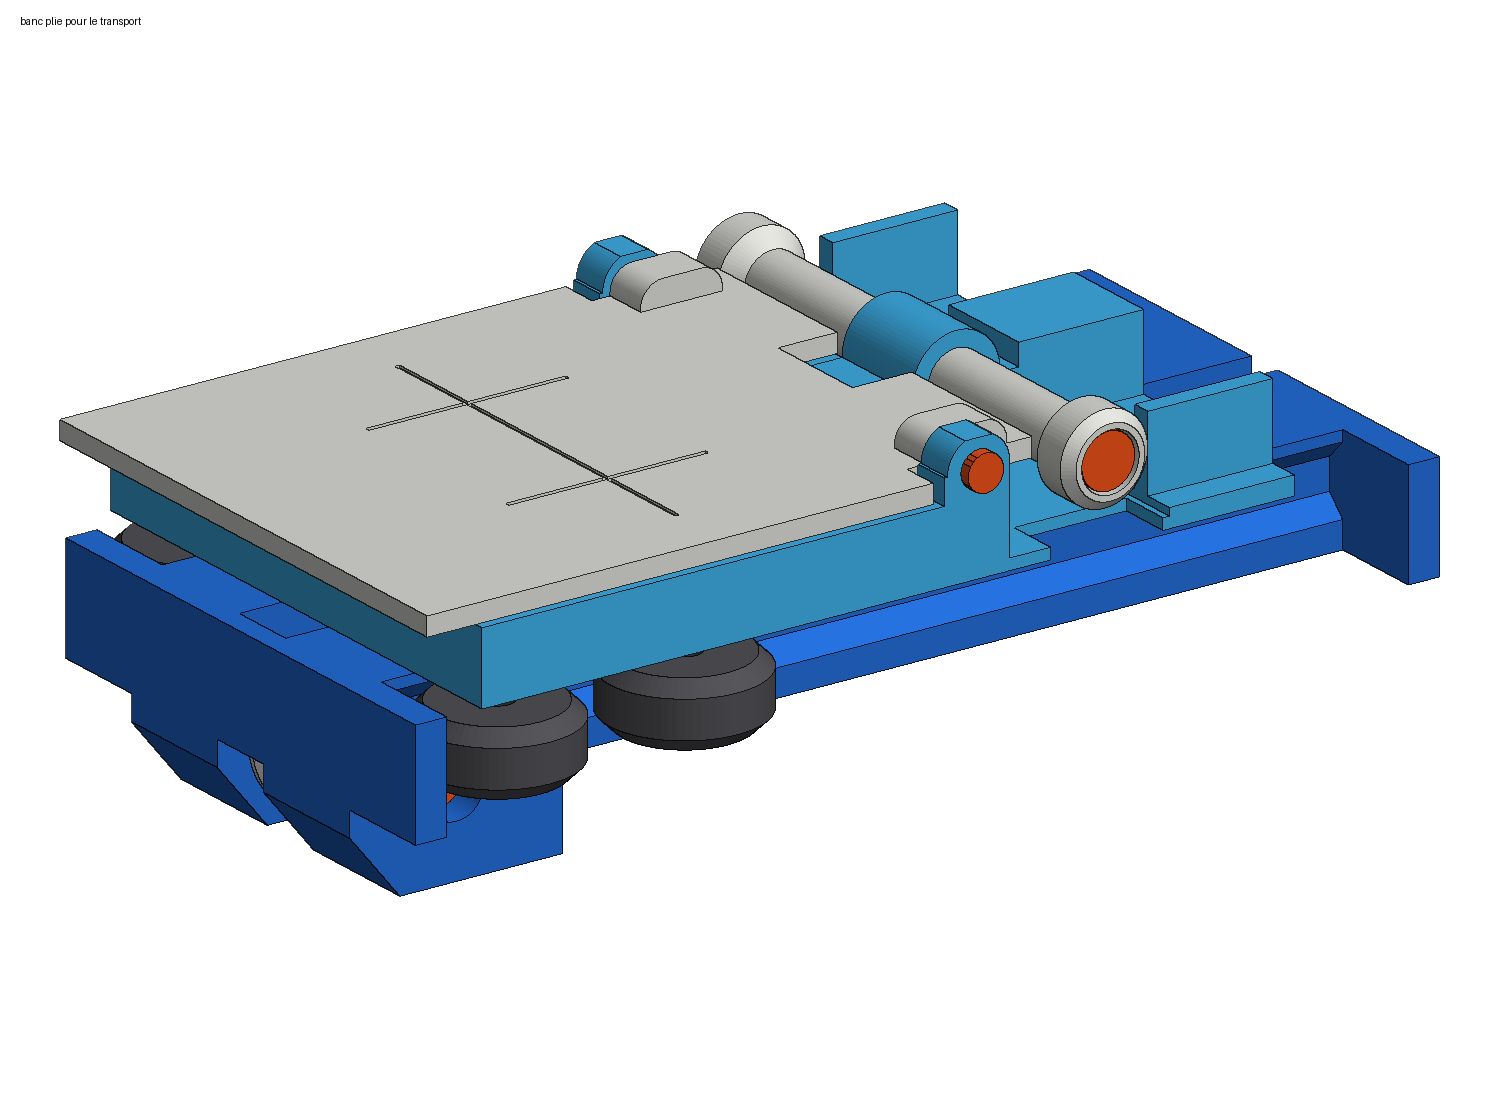
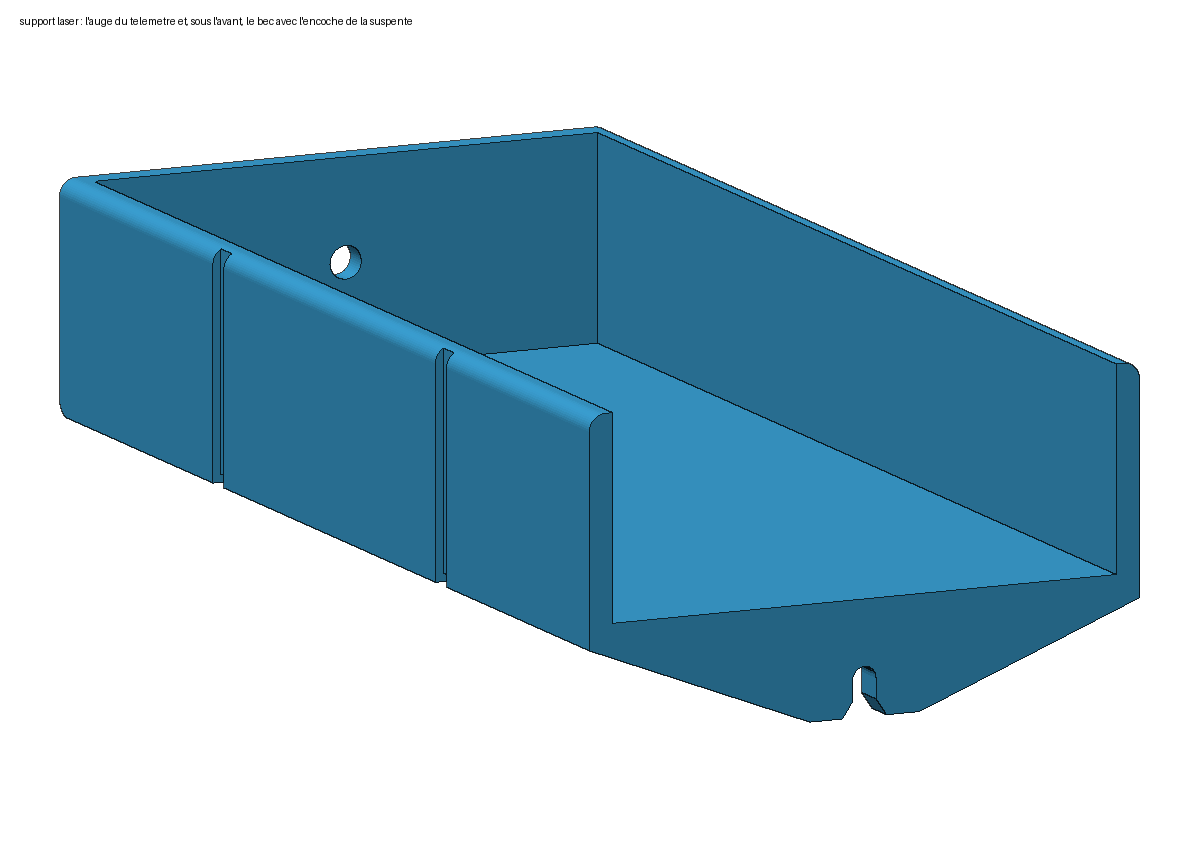
Download the STL files
One STL file per part, already oriented for printing, in millimetres. Recommended materials are further down.
- bobine_ecrou.stl248 kB
- bobine_tete.stl312 kB
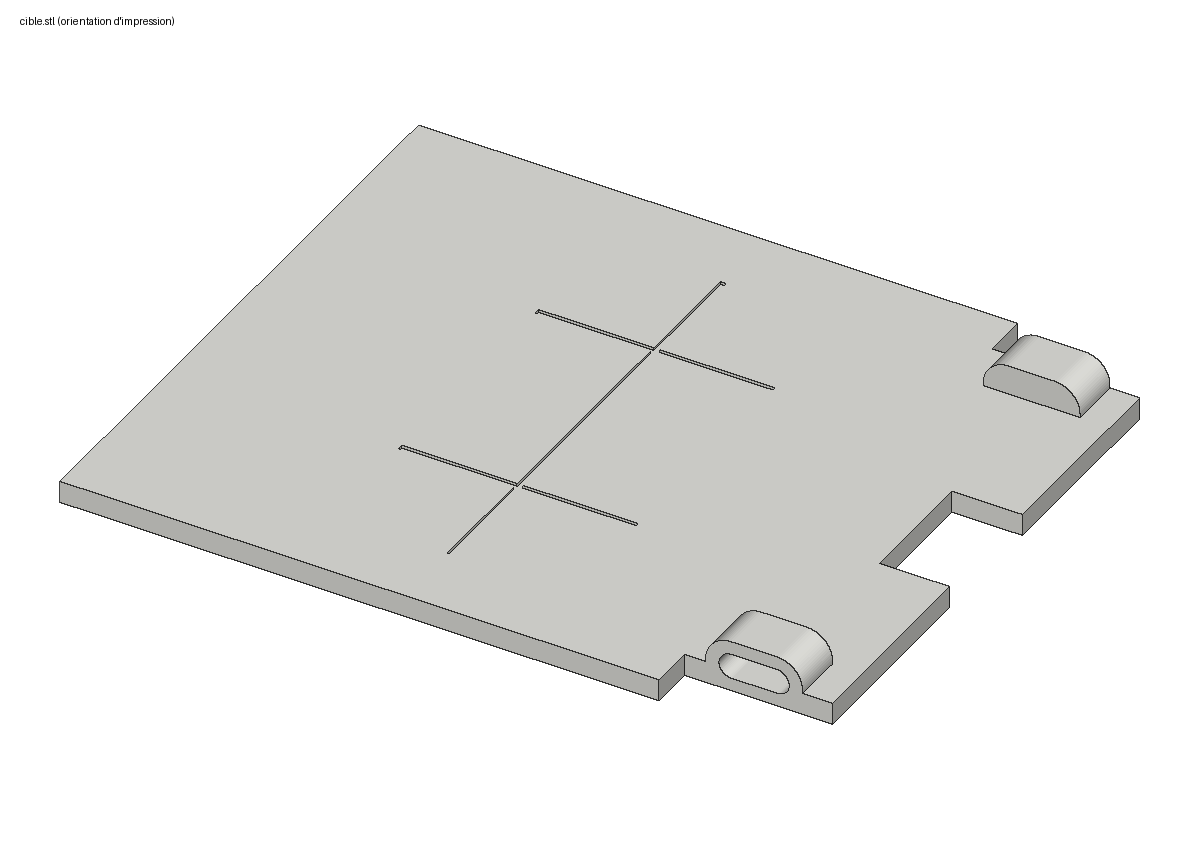
- cible.stl222 kB
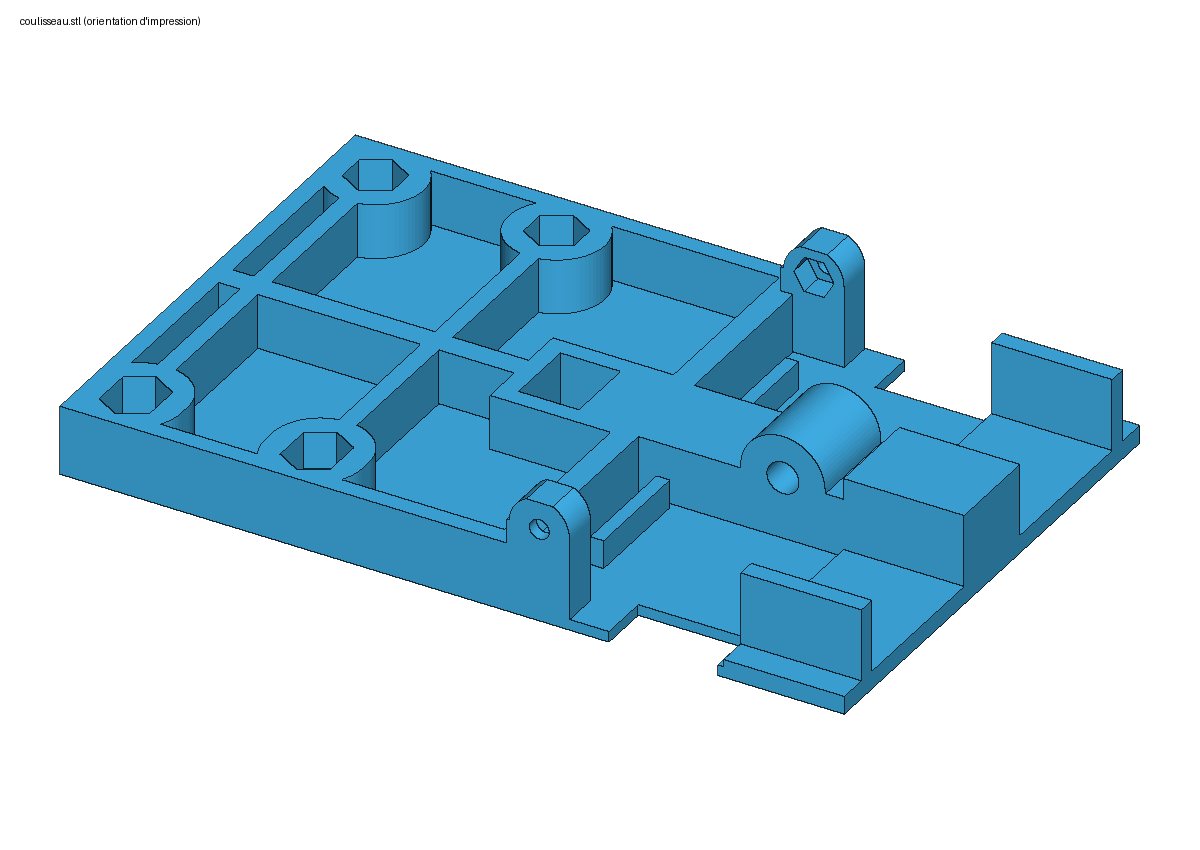
- coulisseau.stl845 kB
- entretoises_grappe.stl1166 kB
- poulie.stl515 kB
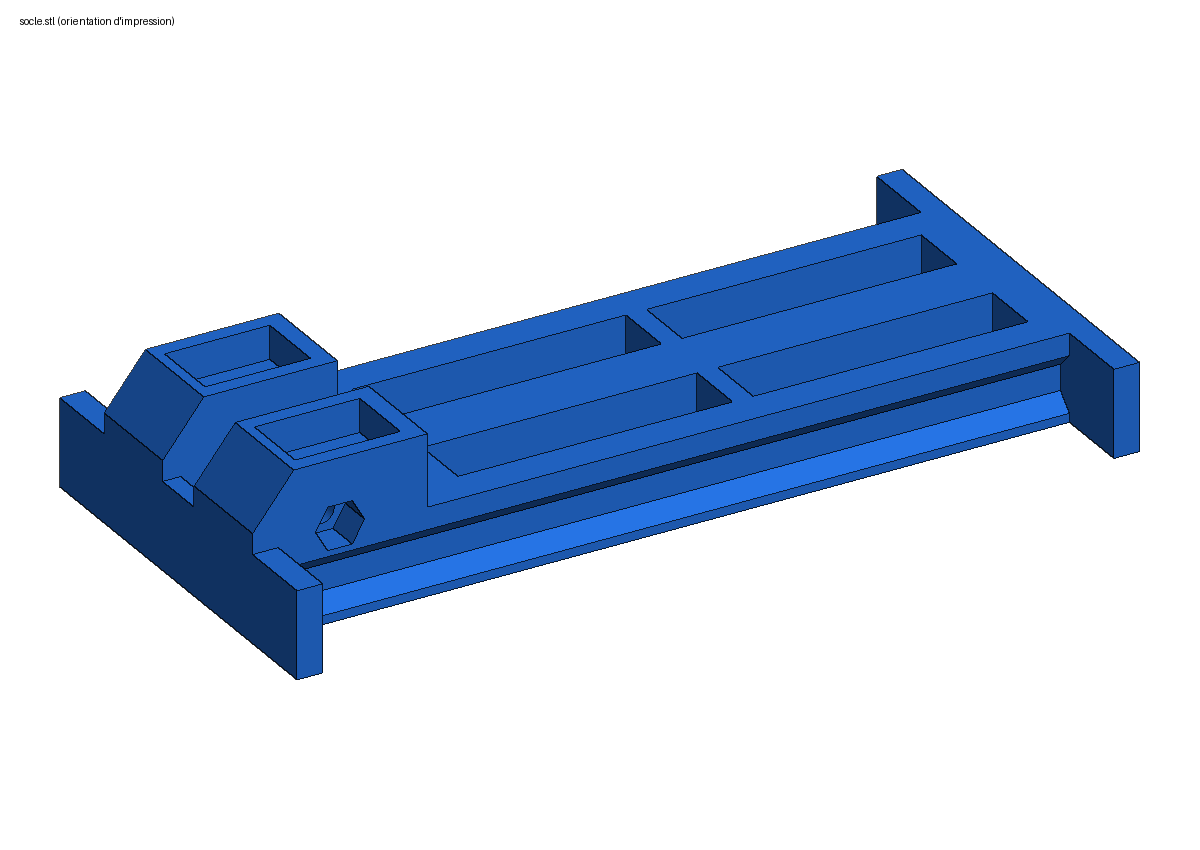
- socle.stl259 kB
The laser holder, in the version for your distance meter
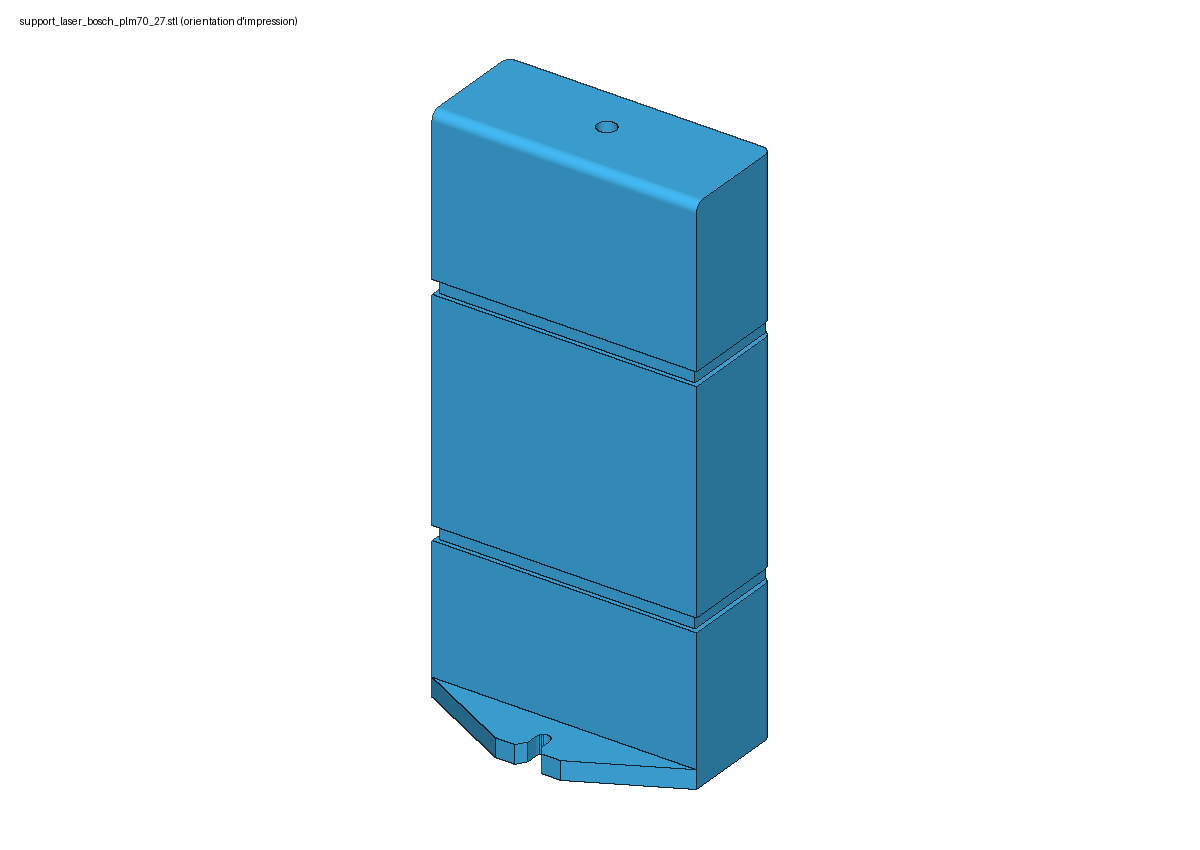
Leica DISTO and Bosch models under €500, at the manufacturer's dimensions (length × width × thickness) plus 0.5 mm of clearance. Other distance meter: see further down.
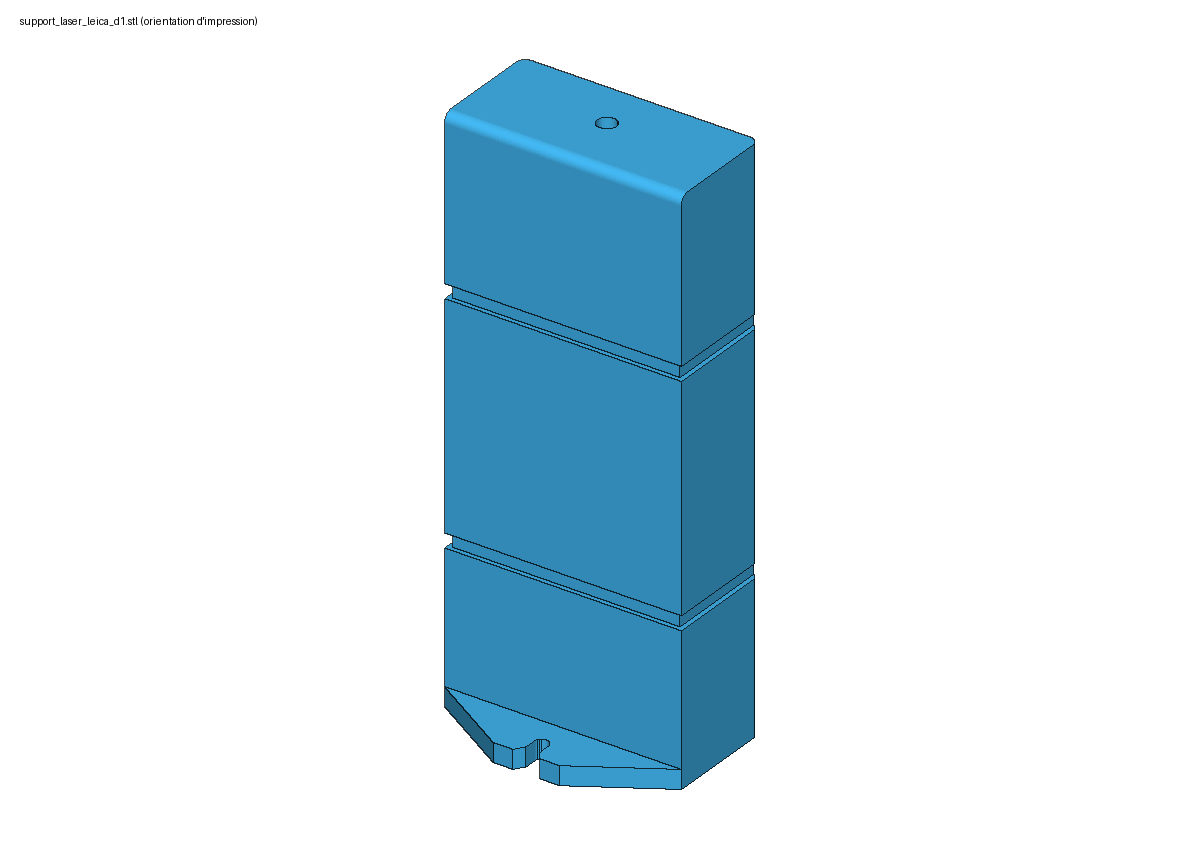
- Leica DISTO D1115 × 43.5 × 23.5 mm · 129 kBimage
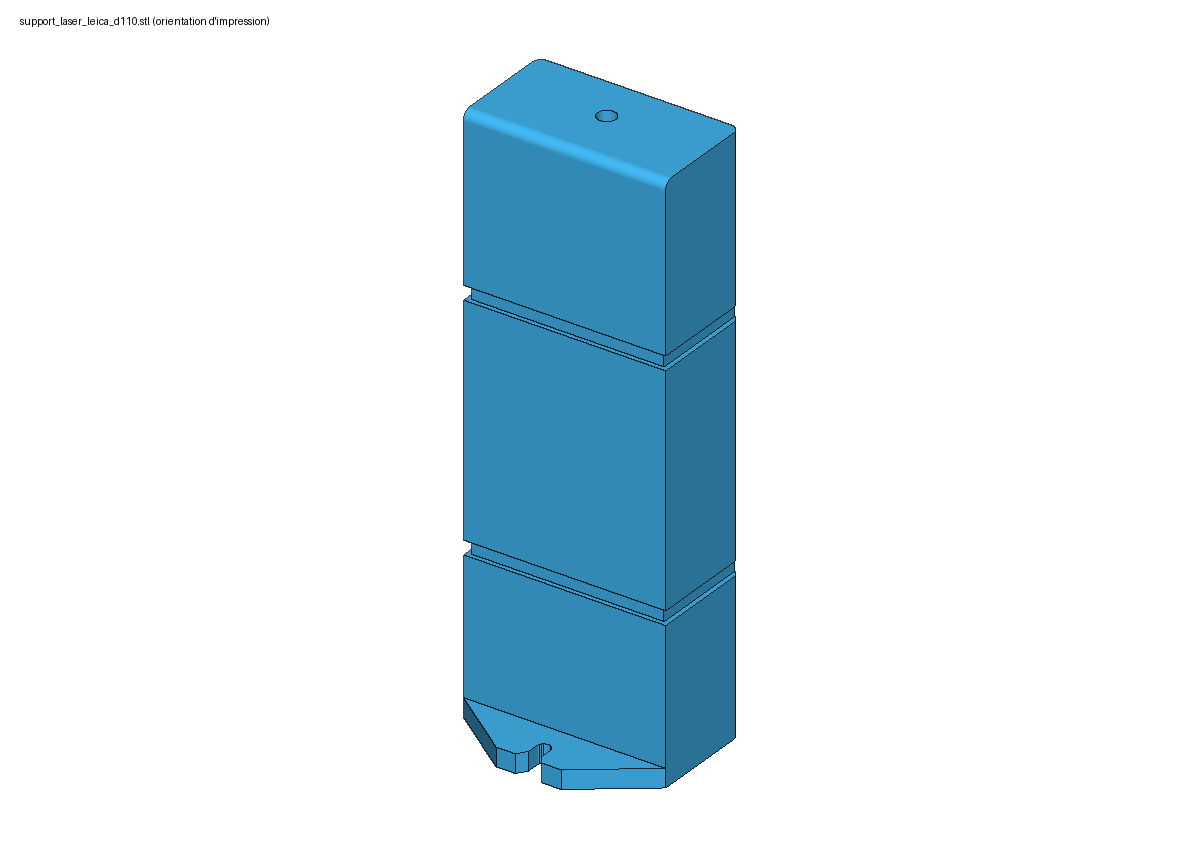
- Leica DISTO D110 / E7100i120 × 37 × 23 mm · 130 kBimage
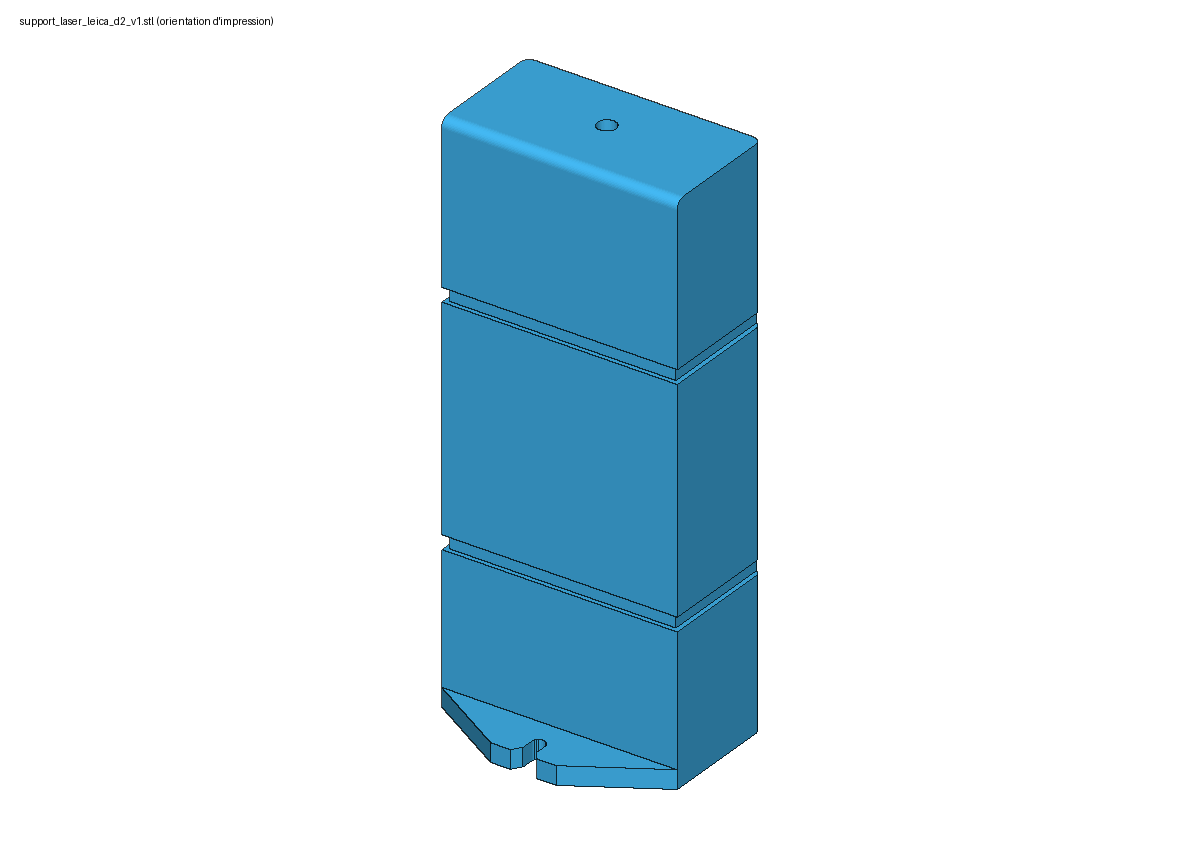
- Leica DISTO D2 (v1, 100 m)116 × 44 × 26 mm · 130 kBimage
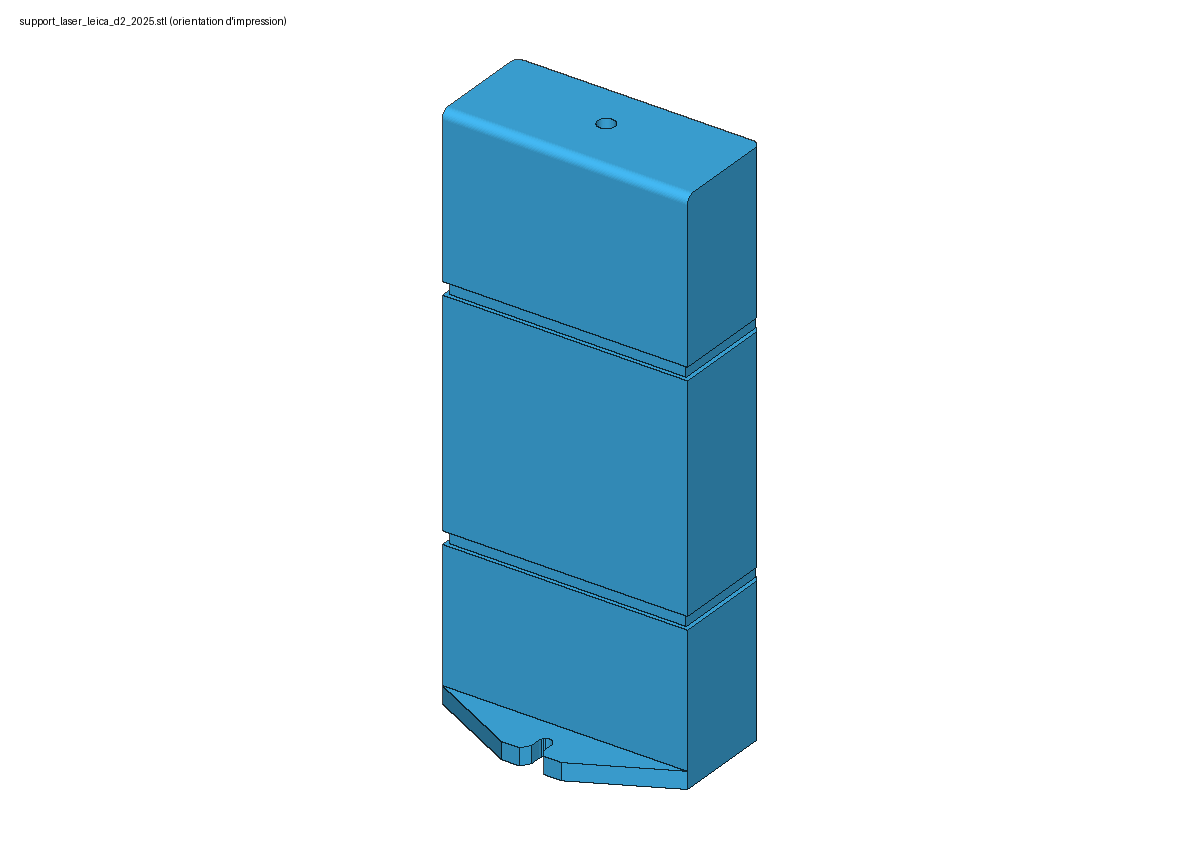
- Leica DISTO D2 (2025, 150 m) / D2G127 × 50.5 × 24.5 mm · 129 kBimage
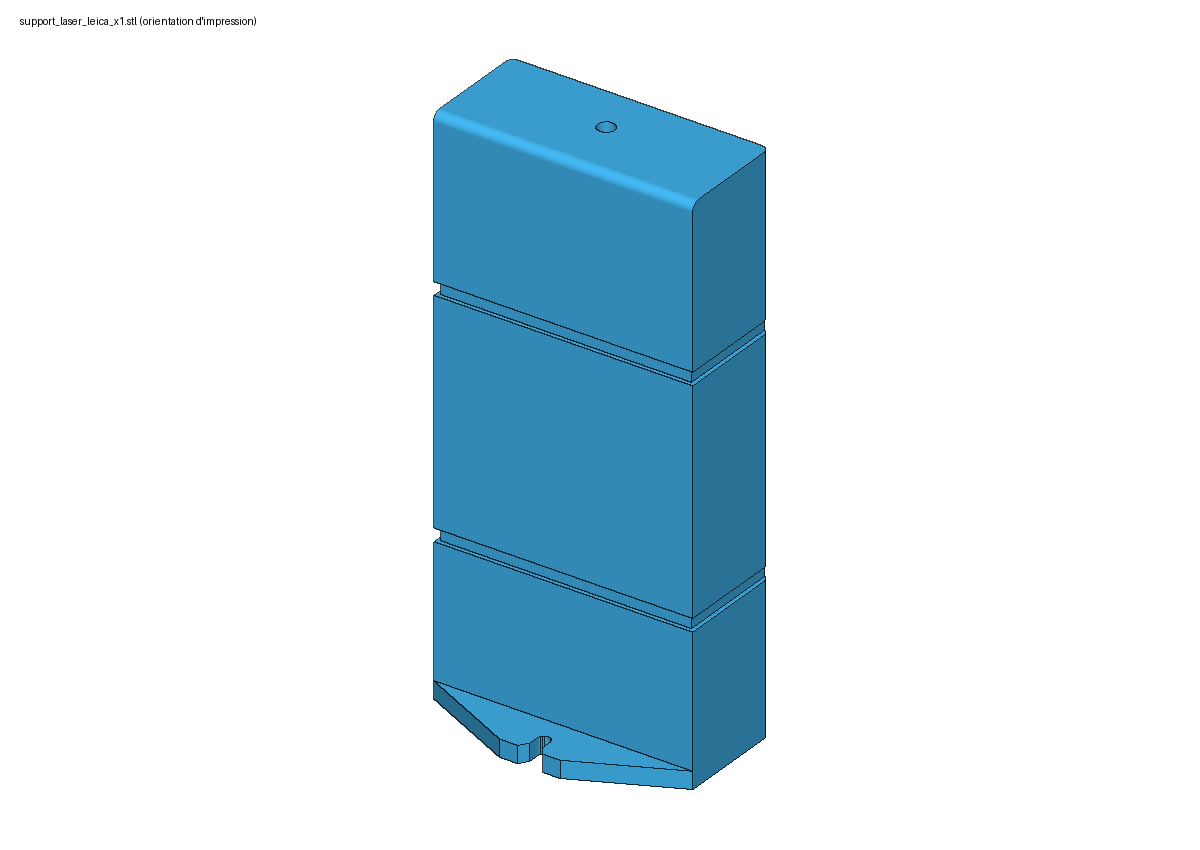
- Leica DISTO X1125 × 53.5 × 25.5 mm · 129 kBimage
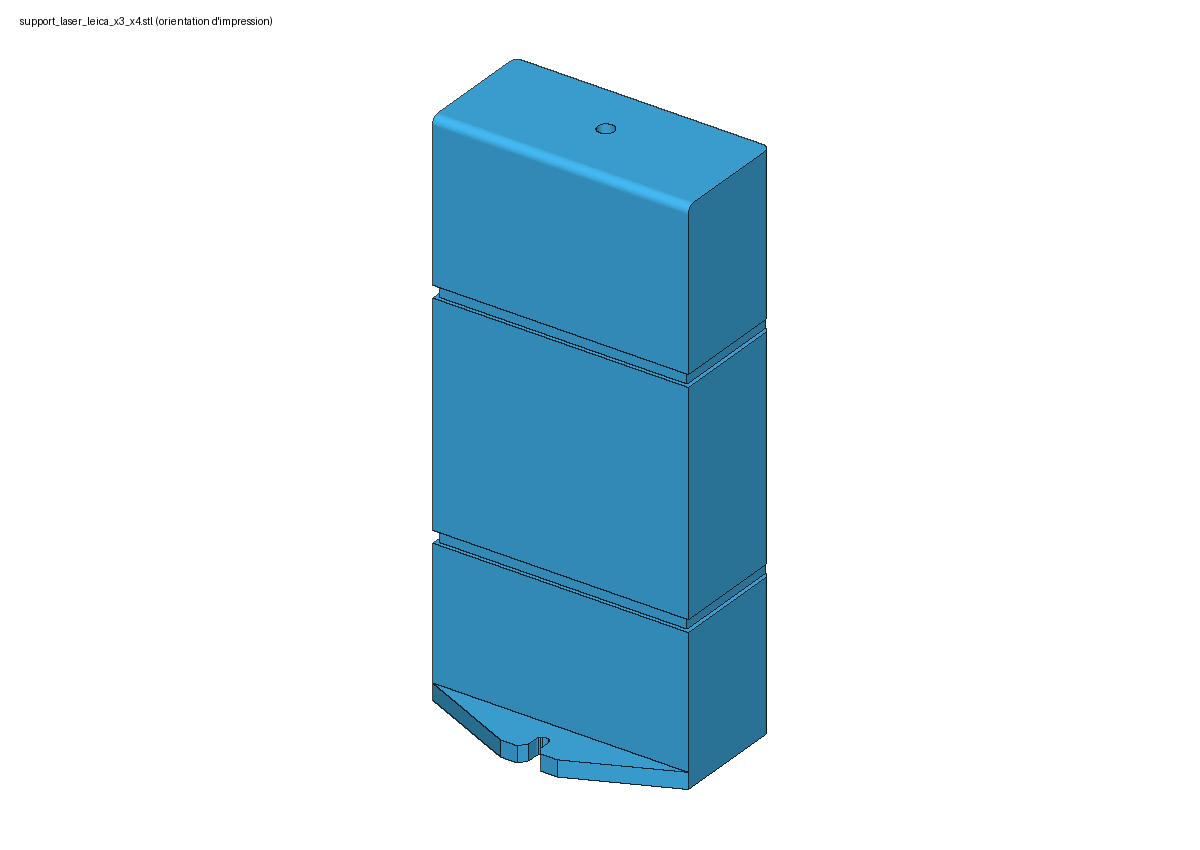
- Leica DISTO X3 / X4132 × 56 × 29 mm · 127 kBimage
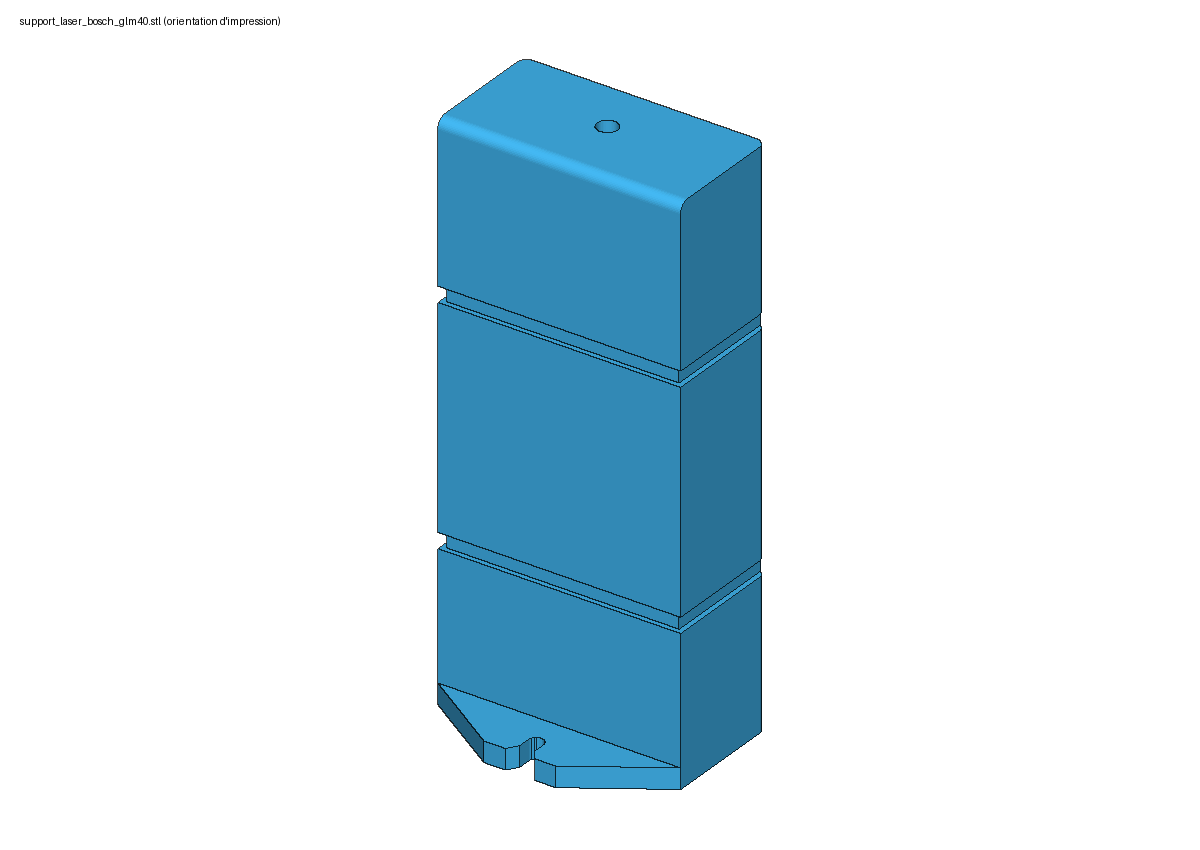
- Bosch GLM 40 / GLM 30105 × 41 × 24 mm · 129 kBimage
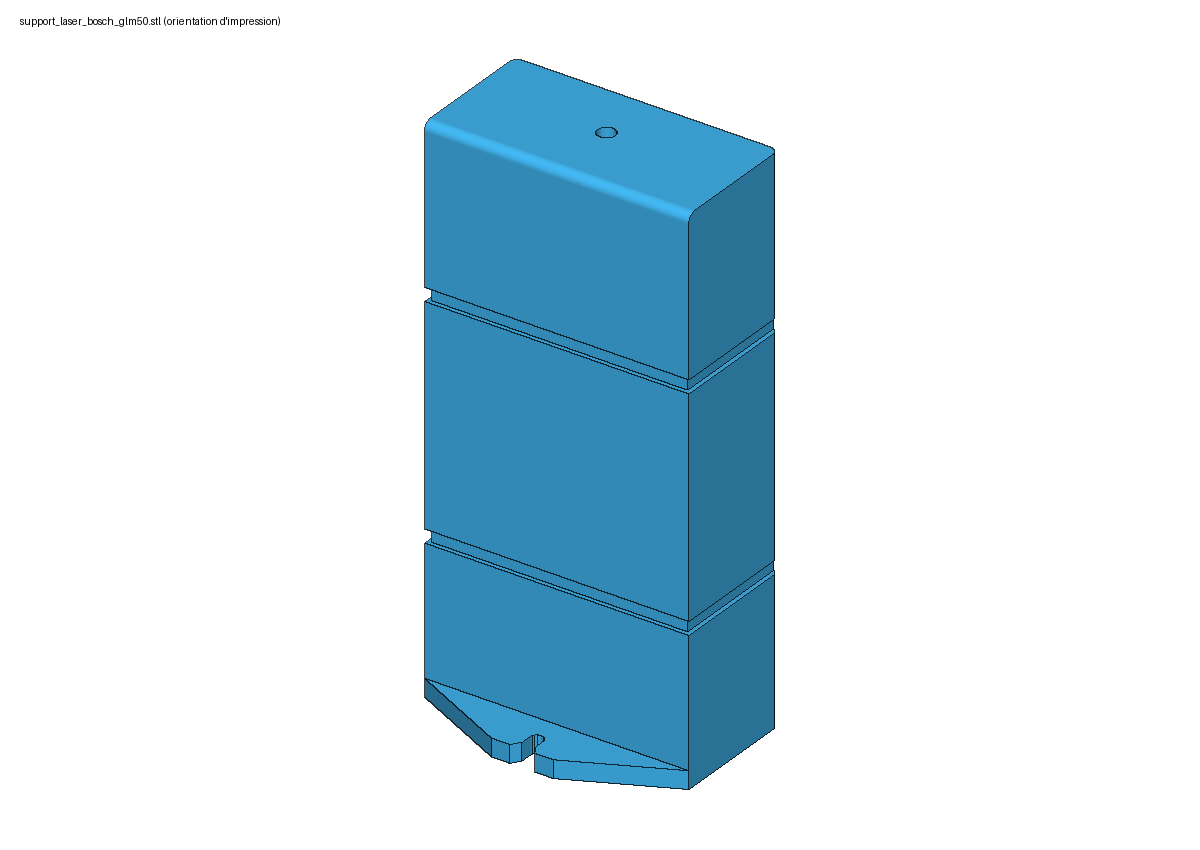
- Bosch GLM 50-22 / 50-25 G / 50-27 C / 50-27 CG / 40-31119 × 53 × 29 mm · 126 kBimage
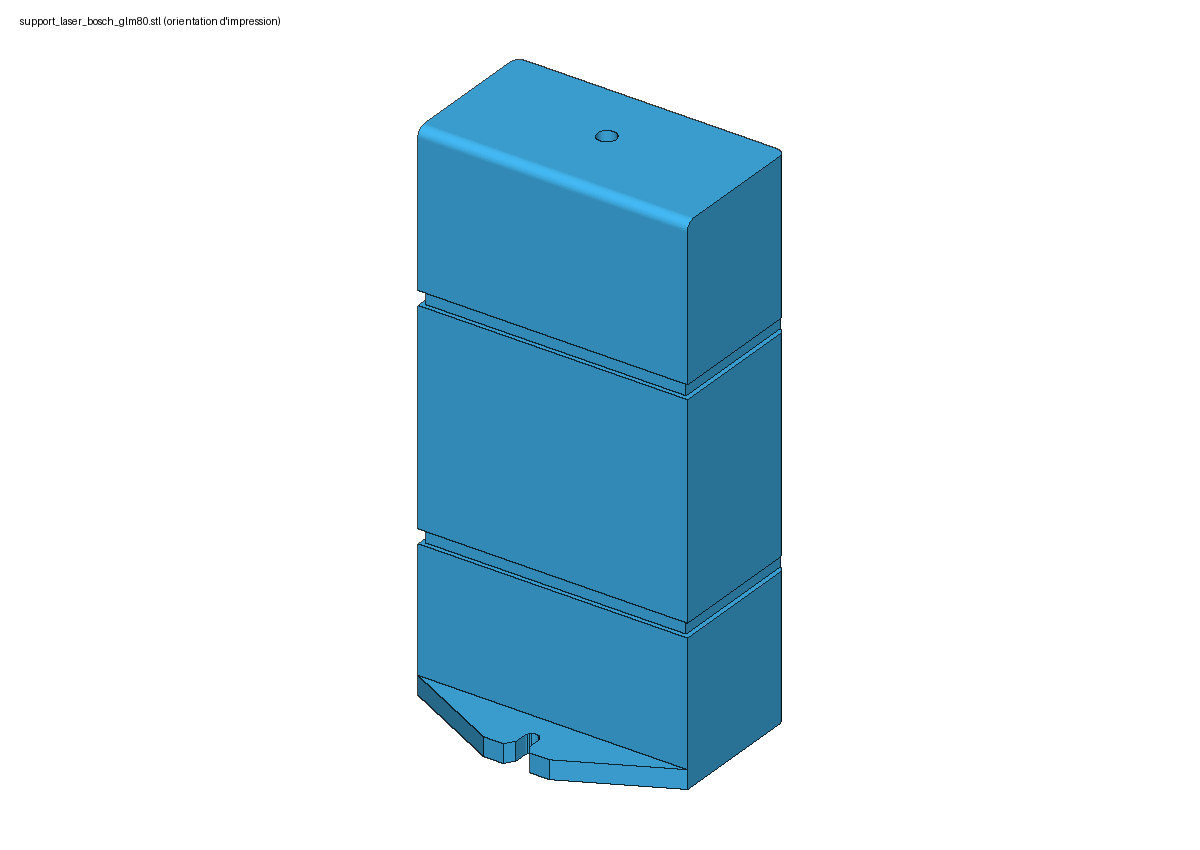
- Bosch GLM 80111 × 51 × 30 mm · 130 kBimage
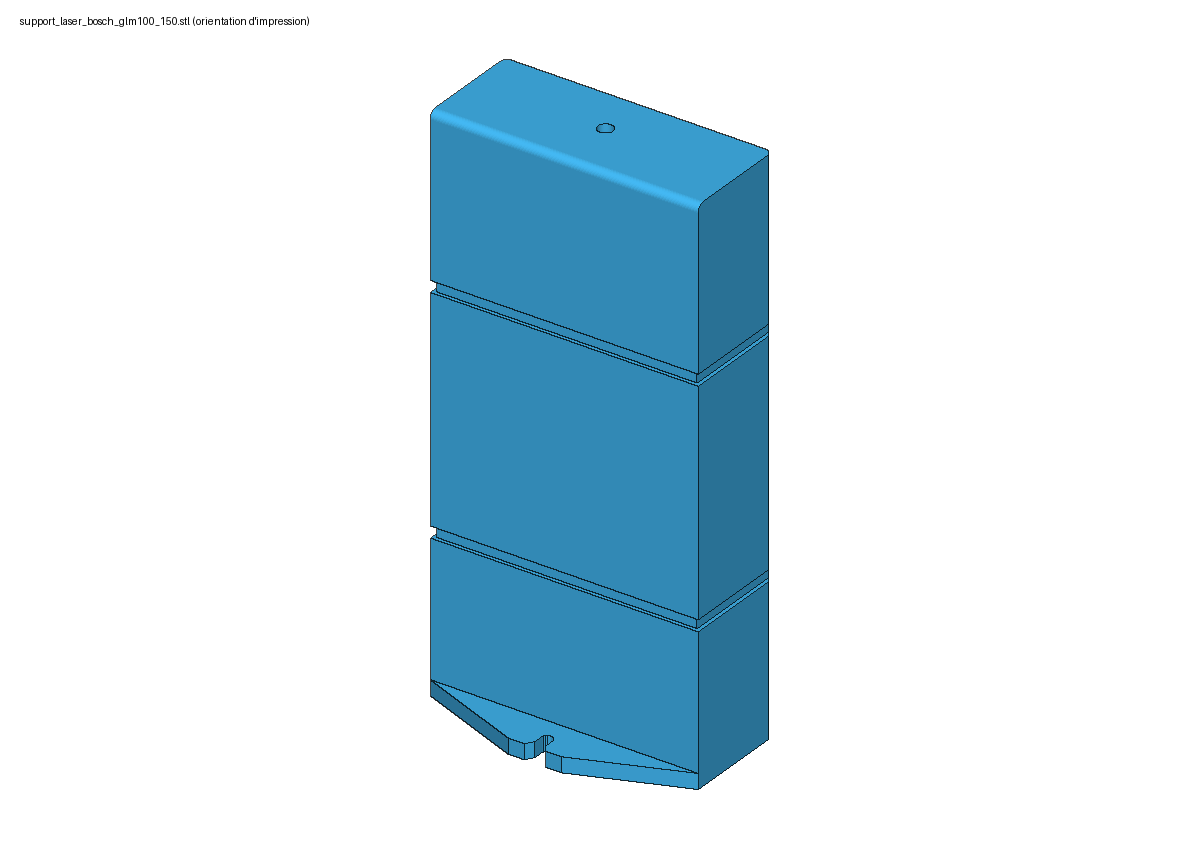
- Bosch GLM 100-25 C / 150-27 C / 120 C142 × 64 × 28 mm · 129 kBimage
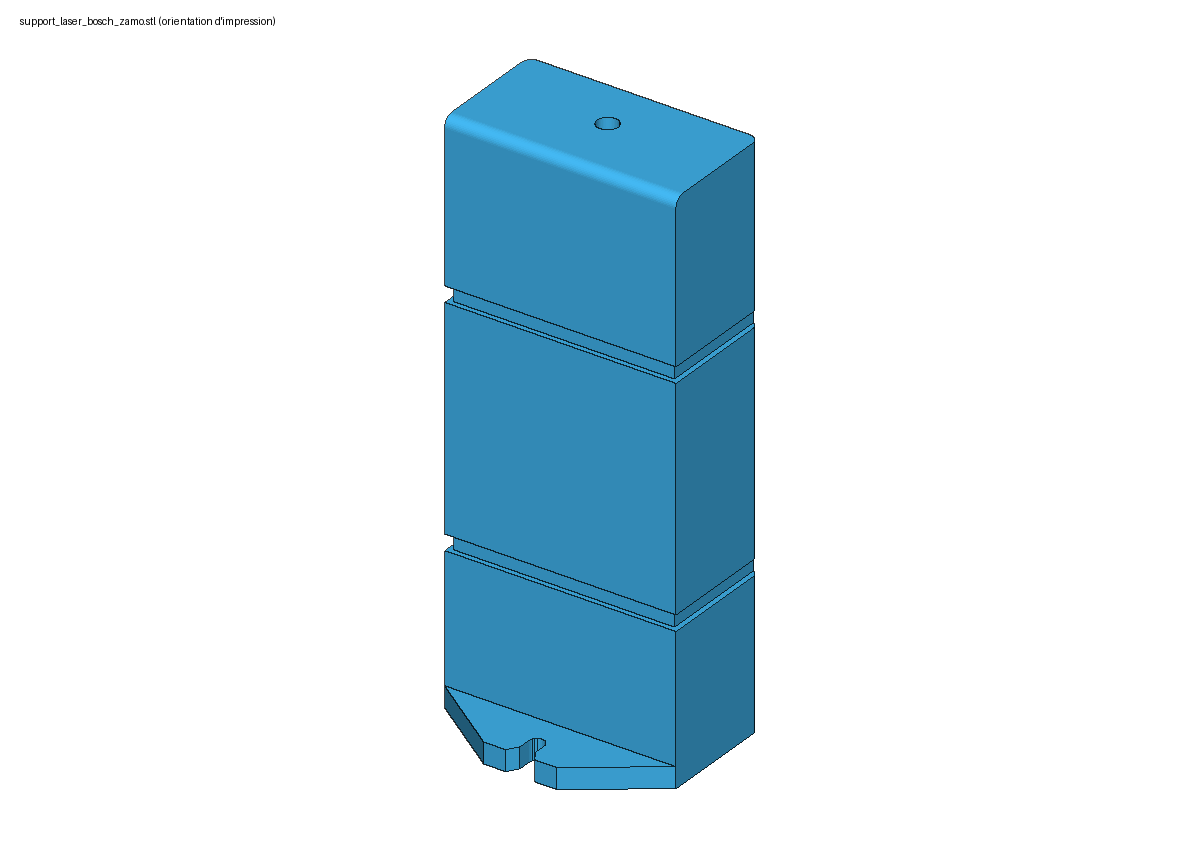
- Bosch Zamo (IV, 2025)104 × 38 × 23 mm · 127 kBimage
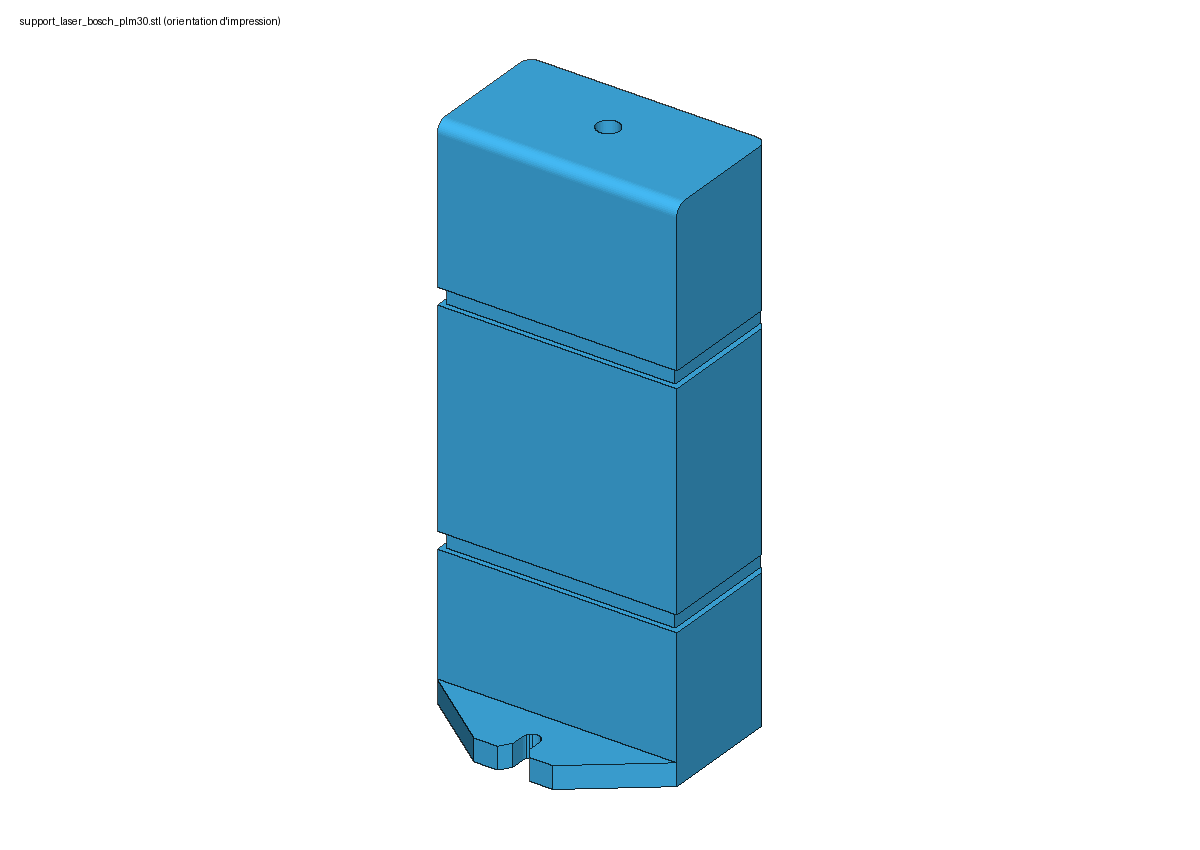
- Bosch PLM30-21 / EasyDistance 2094 × 36 × 23 mm · 126 kBimage
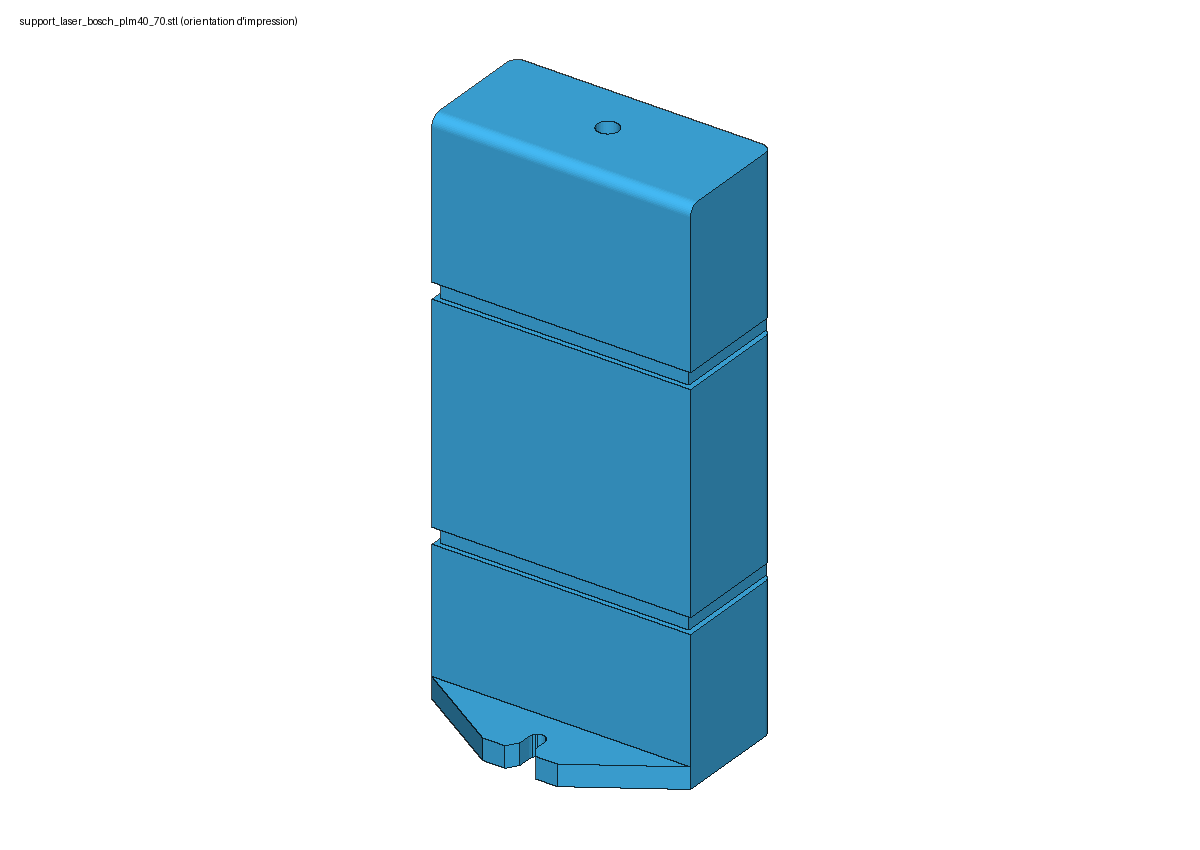
- Bosch PLM40-23 / 50-23 / 60-23C / 70-23C, UniversalDistance 30 / 40C / 50 / 50C, PLR 30 C / 40 C100 × 42 × 22 mm · 130 kBimage
- Bosch PLM70-27 / AdvancedDistance 50C / PLR 50 C115 × 50 × 23 mm · 130 kBimage
To check the trim of your wing, every line has to be measured under the same tension. Here, two 3D-printed parts do the job with a laser distance meter and a 5 L water bag: a bench that sits on the edge of a table and tensions the line to 5 kg, and a laser holder that catches the line's attachment tab at the wing end. Hardware: €30.
How it works
- The bench hooks onto the edge of the table. The two risers lie flat on it, each on a spool; you simply pass the maillon loop over the top.
- A carriage on wheels links the risers, through a cord and a pulley, to the water bag hanging under the table. As long as the carriage floats between its end stops, the line is tensioned to exactly 5 kg.
- In front of the risers, a white target flips up and locks square.
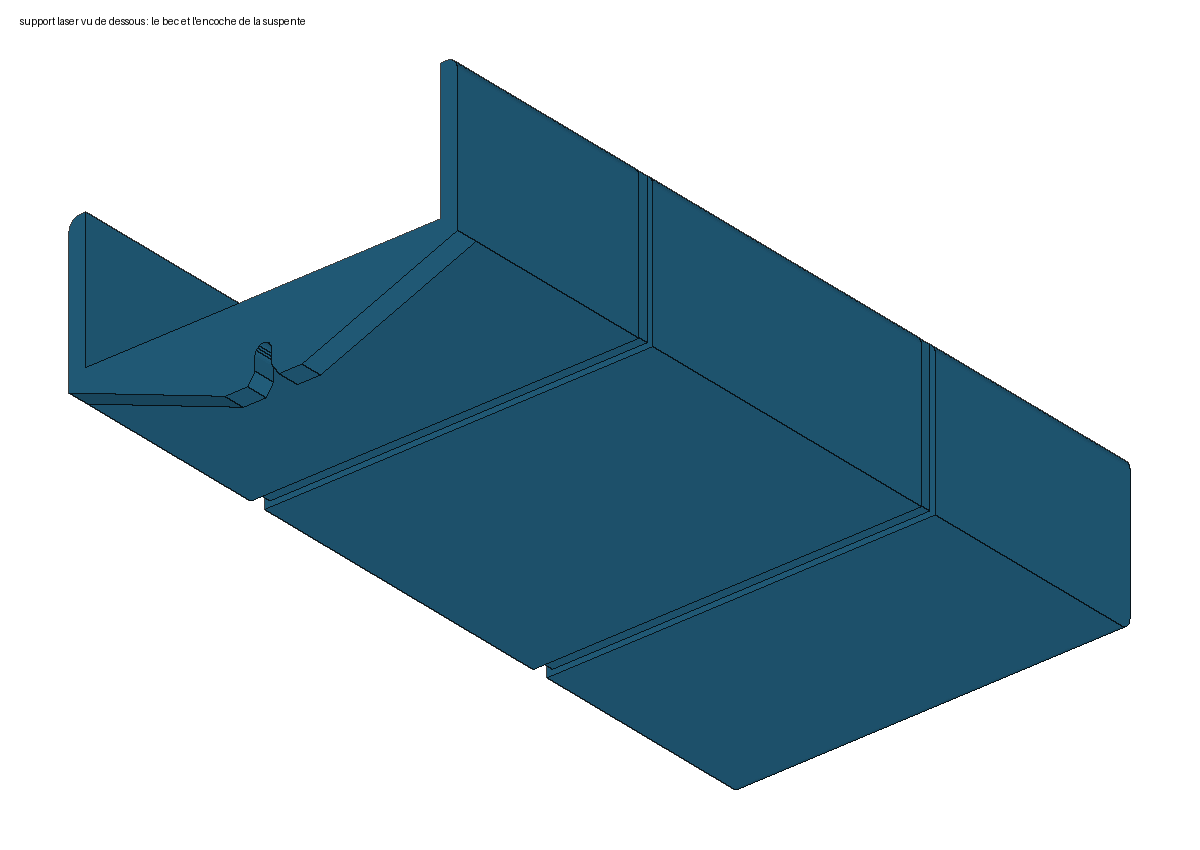
- At the wing end, you slide the line into the notch of the holder, the tab comes up against the stop, and the laser lying in the holder aims at the target. The online trim tool does the rest, with the offset given below.
- For travel: target folded down, a hook-and-loop strap around it.
Files to print
Seven files for the bench, one per part, already oriented for printing, no supports needed; then the laser holder, in the version for your distance meter.
| File | Part |
|---|---|
socle.stl |
the base that hooks onto the table (image) |
coulisseau.stl |
the carriage that carries the risers and the target (image) |
cible.stl |
the target, to print in white (image) |
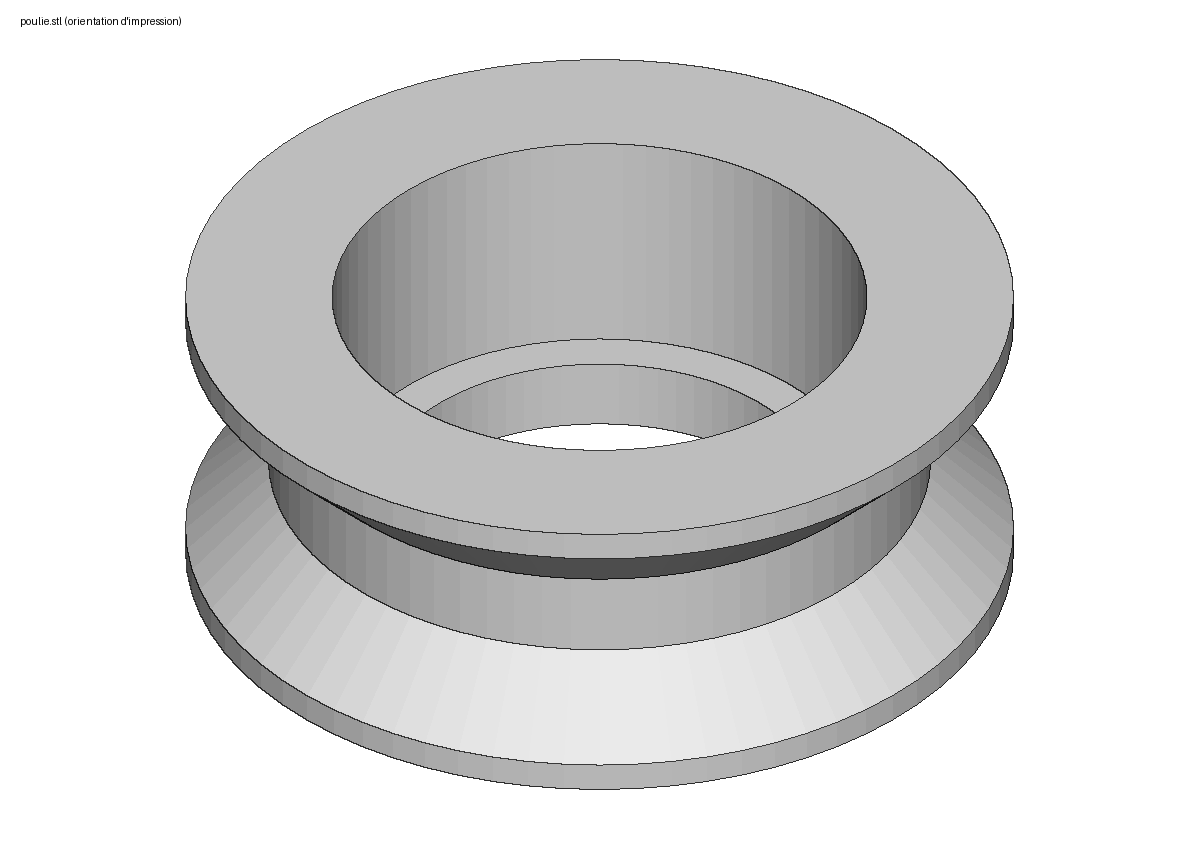
poulie.stl |
the pulley of the cord (image) |
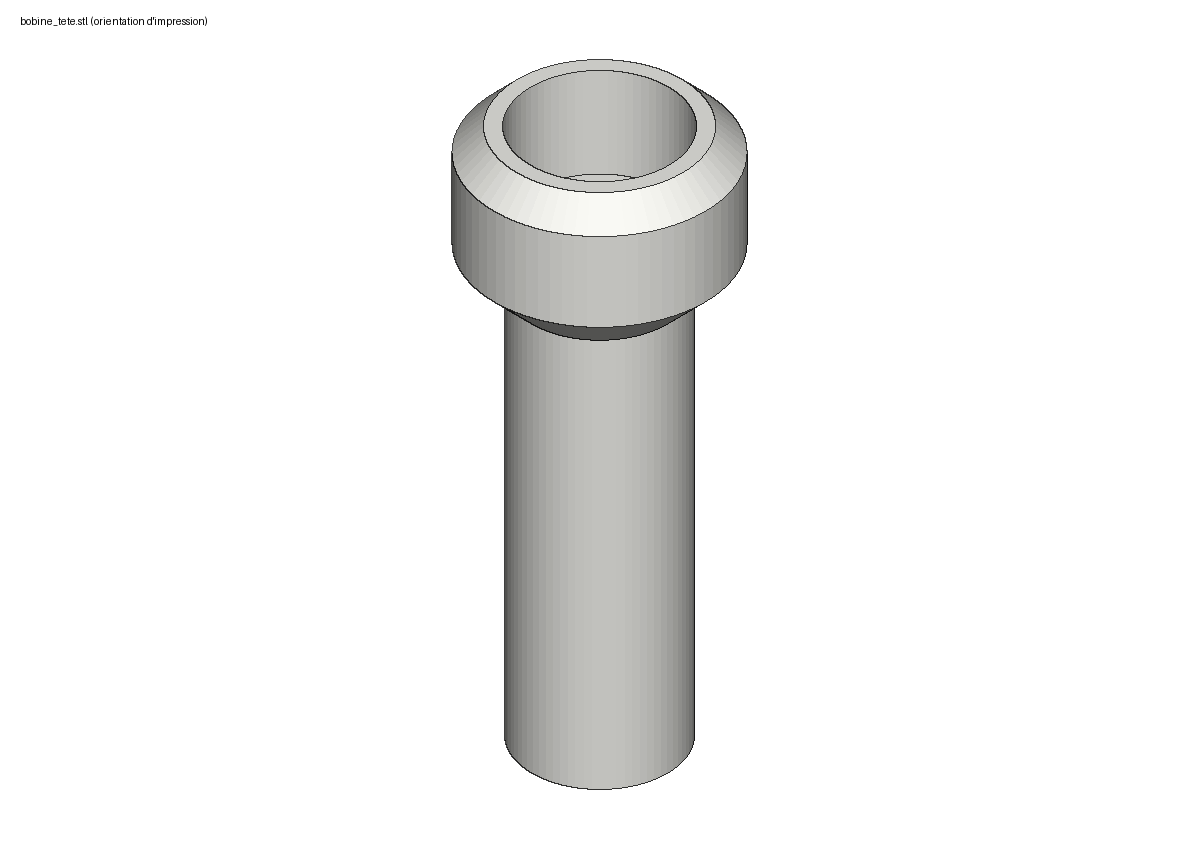
bobine_tete.stl, bobine_ecrou.stl |
the two riser spools (image) |
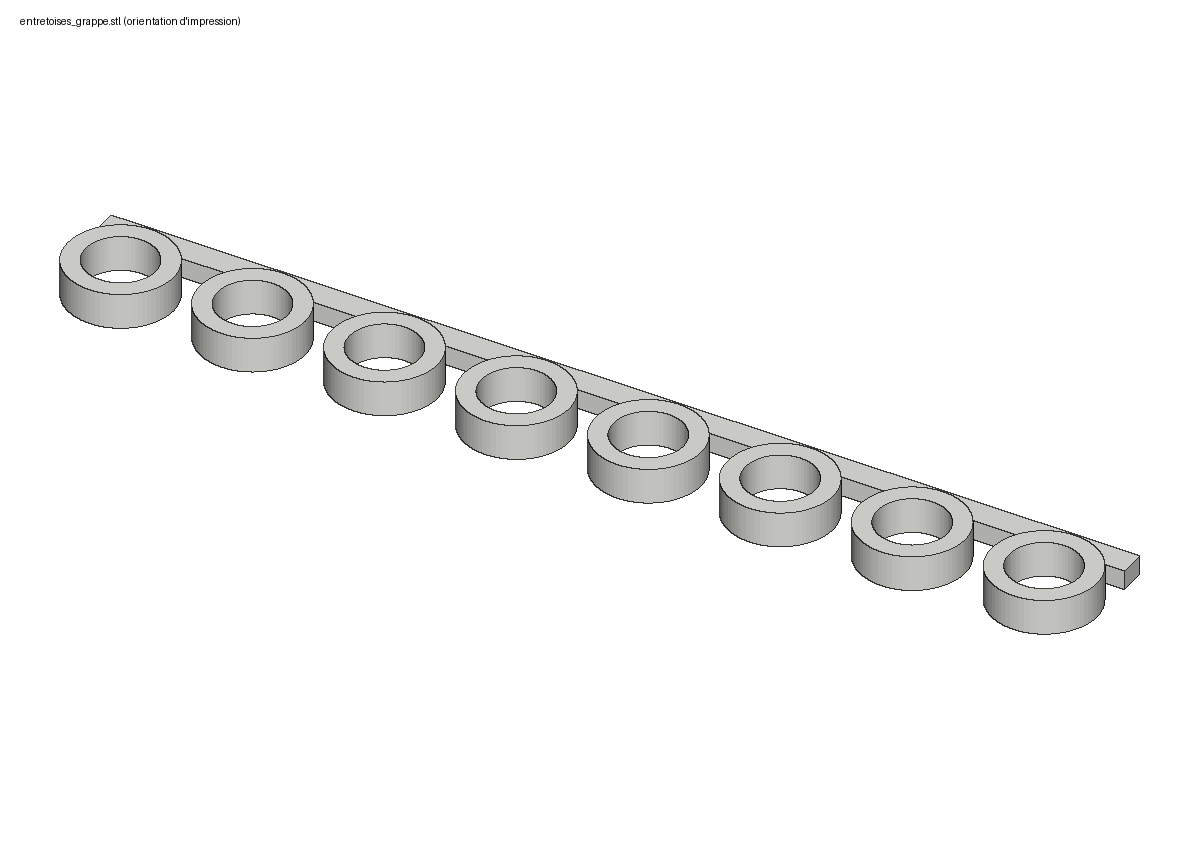
entretoises_grappe.stl |
8 small spacers on a sprue, to cut off with a craft knife (image) |
The laser holder, sized for your distance meter
Same part (the notch, seen from below), one version per distance meter: the Leica DISTO and Bosch models under €500, at the manufacturer's dimensions plus 0.5 mm of clearance. The holder is 3 mm lower than the distance meter, so that you can grip it and reach its buttons. Some distance meters only measure from their rear face: their reading is longer by their own length, and the table says how much to subtract. GLM 100, 120 and 150: rear pin folded in.
| Distance meter | Manufacturer's dimensions (mm) | Measuring reference | File |
|---|---|---|---|
| Leica DISTO D1 | 115 × 43.5 × 23.5 | rear only: subtract 115 mm from the reading | support_laser_leica_d1.stl (image) |
| Leica DISTO D110 / E7100i | 120 × 37 × 23 | rear only: subtract 120 mm from the reading | support_laser_leica_d110.stl (image) |
| Leica DISTO D2 (v1, 100 m) | 116 × 44 × 26 | front or rear | support_laser_leica_d2_v1.stl (image) |
| Leica DISTO D2 (2025, 150 m) / D2G | 127 × 50.5 × 24.5 | front or rear | support_laser_leica_d2_2025.stl (image) |
| Leica DISTO X1 | 125 × 53.5 × 25.5 | rear only: subtract 125 mm from the reading | support_laser_leica_x1.stl (image) |
| Leica DISTO X3 / X4 | 132 × 56 × 29 | front or rear | support_laser_leica_x3_x4.stl (image) |
| Bosch GLM 40 / GLM 30 | 105 × 41 × 24 | front or rear | support_laser_bosch_glm40.stl (image) |
| Bosch GLM 50-22 / 50-25 G / 50-27 C / 50-27 CG / 40-31 | 119 × 53 × 29 | front or rear | support_laser_bosch_glm50.stl (image) |
| Bosch GLM 80 | 111 × 51 × 30 | front or rear | support_laser_bosch_glm80.stl (image) |
| Bosch GLM 100-25 C / 150-27 C / 120 C | 142 × 64 × 28 | front or rear | support_laser_bosch_glm100_150.stl (image) |
| Bosch Zamo (IV, 2025) | 104 × 38 × 23 | rear only: subtract 104 mm from the reading | support_laser_bosch_zamo.stl (image) |
| Bosch PLM30-21 / EasyDistance 20 | 94 × 36 × 23 | rear only: subtract 94 mm from the reading | support_laser_bosch_plm30.stl (image) |
| Bosch PLM40-23 / 50-23 / 60-23C / 70-23C, UniversalDistance 30 / 40C / 50 / 50C, PLR 30 C / 40 C | 100 × 42 × 22 | front or rear | support_laser_bosch_plm40_70.stl (image) |
| Bosch PLM70-27 / AdvancedDistance 50C / PLR 50 C | 115 × 50 × 23 | front or rear | support_laser_bosch_plm70_27.stl (image) |
Other distance meter: measure it (width, length, thickness), enter the three dimensions in
scad/support_laser.scad and regenerate the STL; btn_cote opens a wall facing side
buttons.
Which material
PETG, 4 perimeters, 25 % infill, target in matt white. No PLA: it warps in a car left in the sun.
If you have it printed by JLC3DP: everything in SLS 3201PA-F nylon, except the target in white SLA 9000HE resin. Allow ≈ $44 for the parts of the bench and ≈ $10 for shipping. The parts clamped by screws or pulled by a line (base, carriage, laser holder) must not be in resin: it breaks instead of bending.
What to buy
Nothing but screws and lock nuts, all on AliExpress, from rated sellers. Prices read on 5 October 2026 (M5 × 40 screw, M3 screws and nuts: on the 8th); check the selected variant before paying. The variant names are those shown on the listings.
| Part | Variant to select | You need | Price | Link |
|---|---|---|---|---|
| Black V wheels Ø 24, bearings fitted | “10PC BigBlack Wheel” | 5 of 10 | €6.69 | listing |
| M5 × 25 button head screws (wheels) | “10Pcs M5x25” | 4 of 10 | €4.29 | listing |
| M3 × 12 button head screws (target hinge) | “30Pcs M3x12” | 2 of 30 | €3.69 | same listing |
| M5 × 80 socket head cap screw (spools) | “M5 10 pièces” (10 pieces), then “80 mm” | 1 of 10 | €5.09 | listing |
| M5 × 40 socket head cap screw (pulley axle) | “M5 10 pièces” (10 pieces), then “40 mm” | 1 of 10 | €3.09 | same listing |
| M5 lock nuts with nylon insert | “M5 X 50pcs” | 6 of 50 | €3.39 | listing |
| M3 lock nuts with nylon insert | “M3 X 50pcs” | 2 of 50 | €2.26 | same listing |
| 2 mm cord | “10 meters” | 1.5 m | €1.62 | listing |
≈ €30 including shipping. The pulley bearing is taken from the fifth wheel, the weight is your water bag, and there is no glue and no threadlocker: everything is screwed through clearance holes, with a lock nut at the end. The laser is not counted: a 30 m Bluetooth distance meter (HOTO QWCJY001 or equivalent) costs €30 to €40.
The same from Europe
All the fasteners are sold singly by visseriefixations.fr (France). None of the European shops checked also stocks the wheels: they come from a 3D-printing shop. Prices read on 8 October 2026, shipping not included (it is only shown in the basket).
| Part | Shop reference | You need | Price | Link |
|---|---|---|---|---|
| V wheels Ø 24 × 10 in POM, 5 mm bore, 625ZZ bearings fitted | set of 6 | 5 of 6 | €12.90 | 3delectroshop.fr |
| M5 × 25 button head screws, ISO 7380, A2 stainless (wheels) | TBHC05/025A2 | 4 | €0.08 each | visseriefixations.fr |
| M3 × 12 button head screws, ISO 7380, A2 stainless (target hinge) | TBHC03/012A2 | 2 | €0.05 each | visseriefixations.fr |
| M5 × 40 socket head cap screw, DIN 912, A2 stainless (pulley axle) | TCHC05/040A2PF | 1 | €0.13 | visseriefixations.fr |
| M3 lock nuts with nylon insert, DIN 985, A2 stainless | ECRNYL03A2 | 2 | €0.04 each | visseriefixations.fr |
| M5 lock nuts with nylon insert, DIN 985, A2 stainless | ECRNYL05A2 | 6 | €0.04 each | visseriefixations.fr |
| M5 × 80 socket head cap screw, DIN 912, A2 stainless (spools) | TCHC05/080A2PF | 1 | €0.59 | visseriefixations.fr |
Fasteners: €1.46, plus shipping; wheels: €12.90, plus shipping. The cord is any 2 mm cord.
Assembly
The full diagram, with the hardware (labels in French): schema_montage.png.
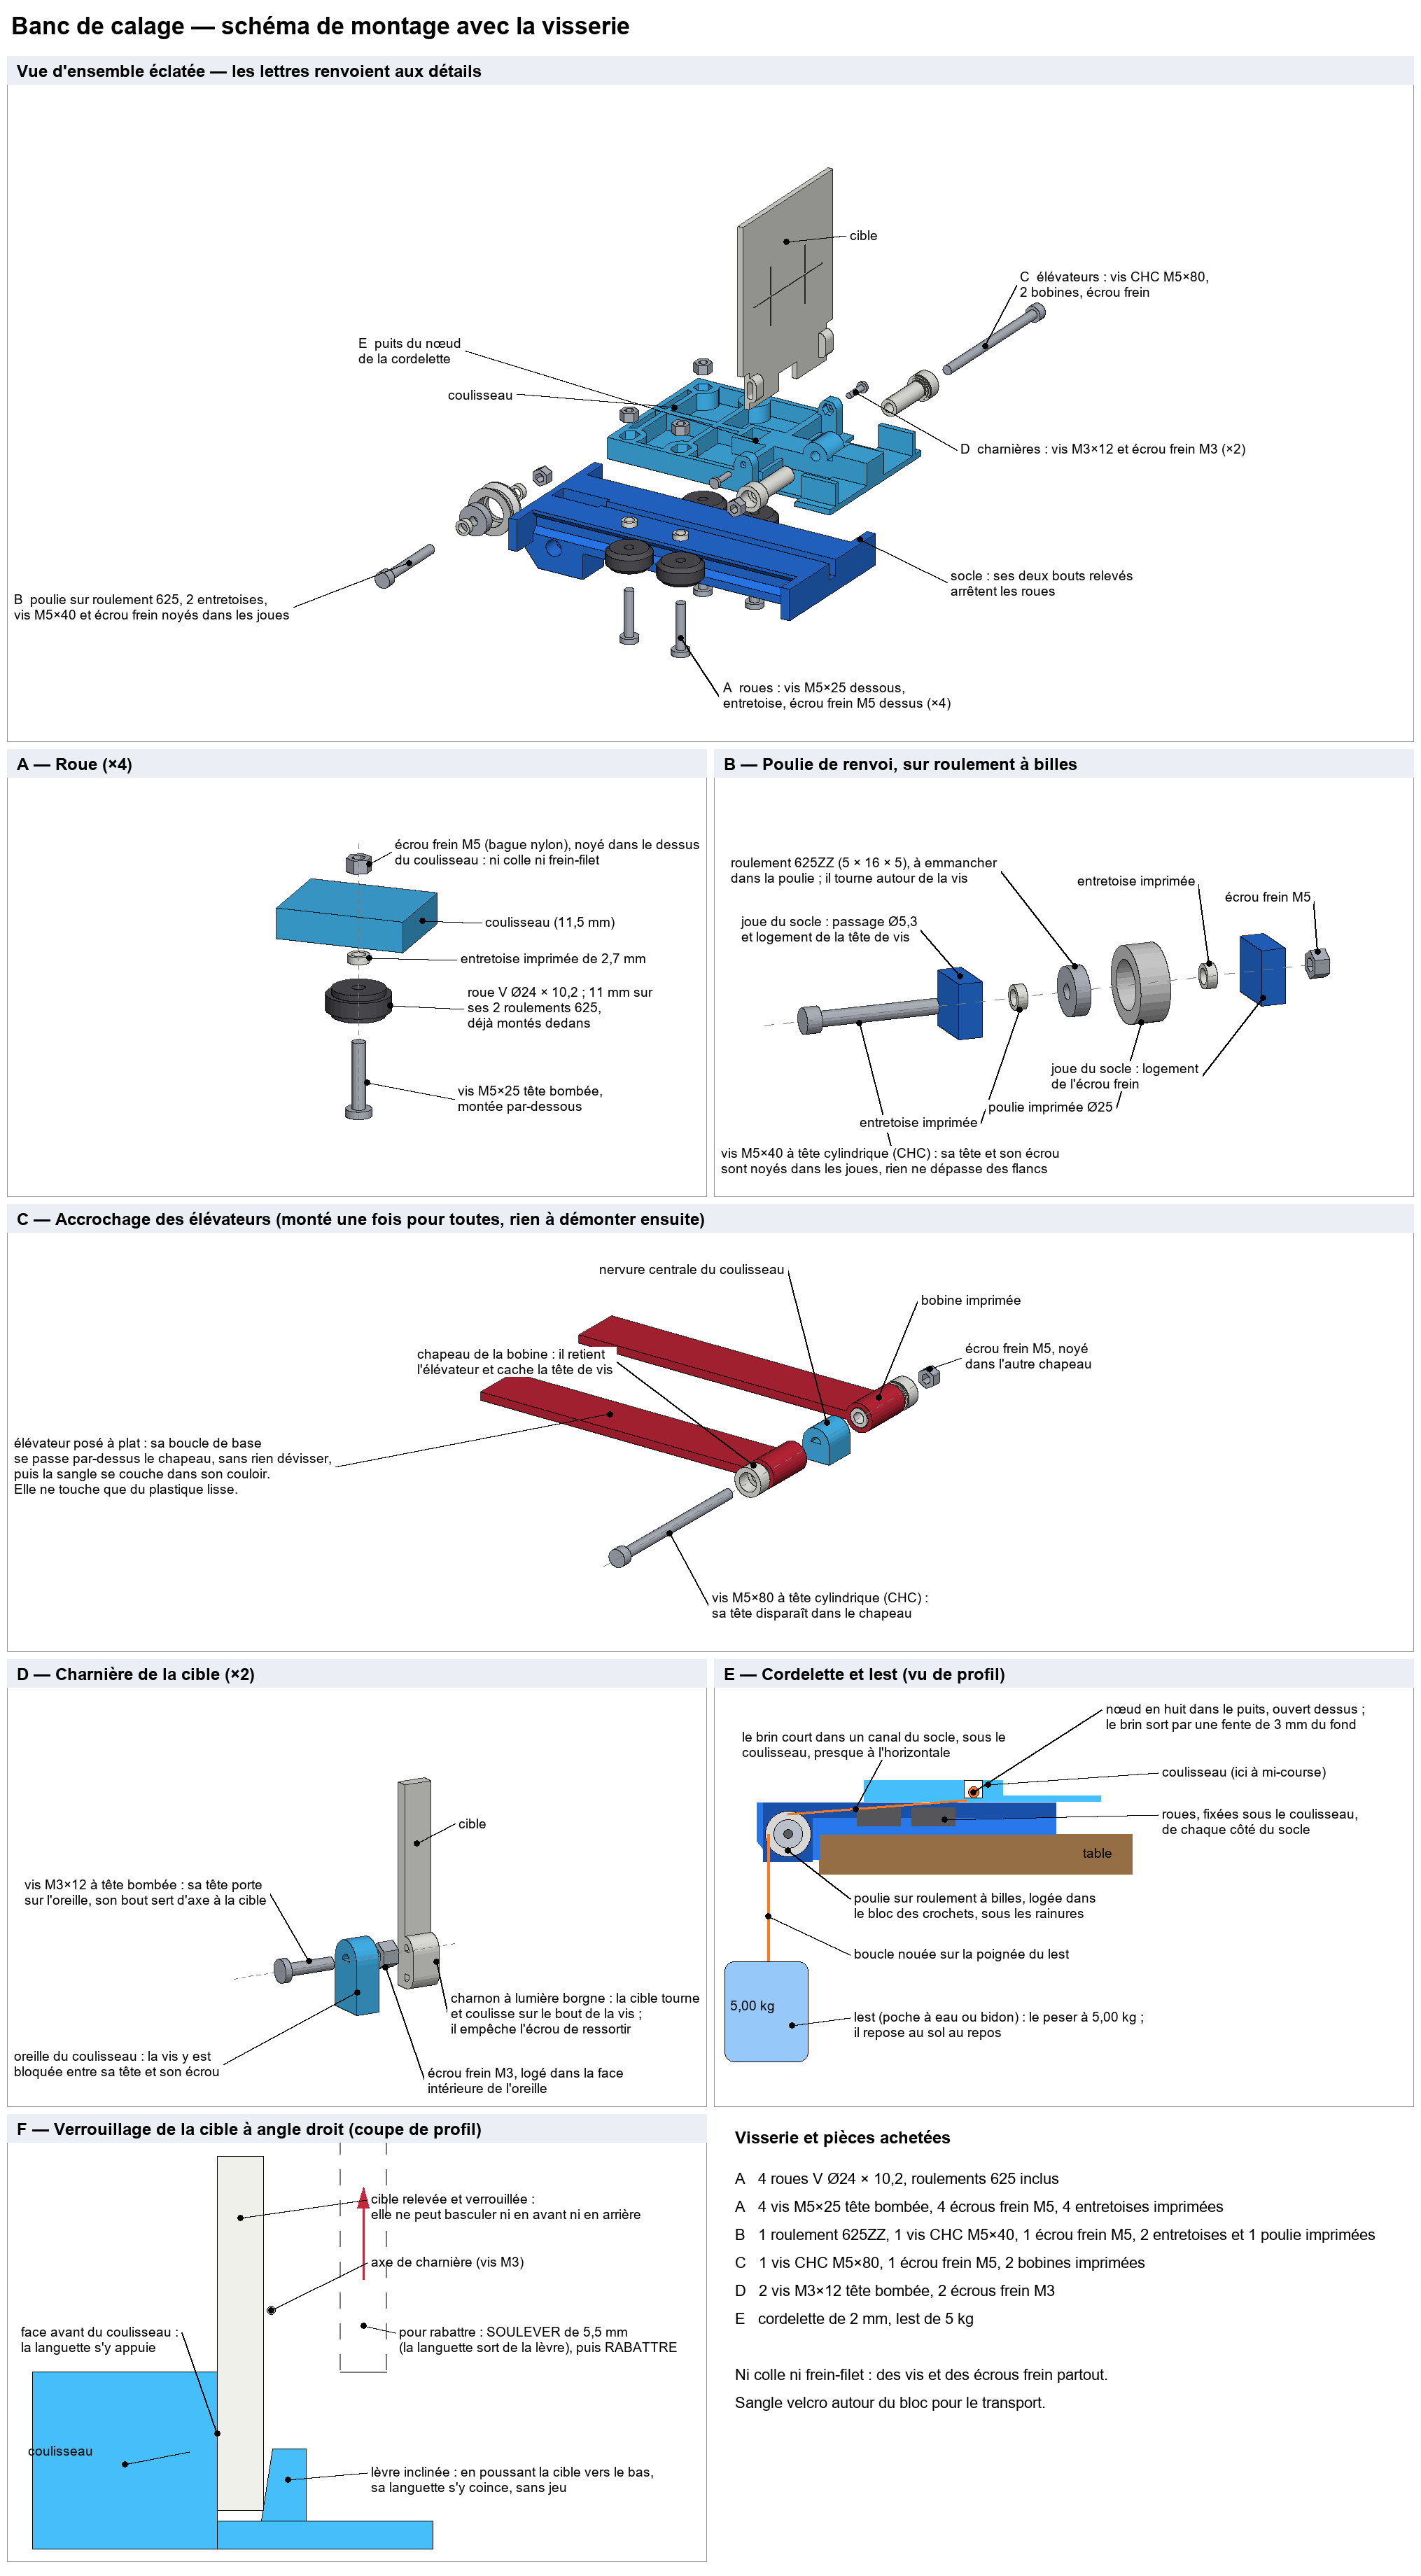
- Pulley: take a bearing out of a spare wheel and press it into the pulley. Place the pulley in its slot with a spacer on each side. Slide an M5 lock nut into its pocket, on one side of the base, pass the M5 × 40 screw through from the other side and screw it in (4 mm hex key) until the head seats, without forcing. Head and nut stay below the sides.
- Wheels: a lock nut in each of the 4 pockets of the carriage, then for each wheel an M5 × 25 screw from underneath, through the wheel and a spacer.
- Play: tighten the fixed side, push the two other wheels to the bottom of their groove (slotted holes), tighten. The carriage must roll by itself when you tilt the base.
- Spools: on the M5 × 80 screw, one spool, the rib of the carriage, the other spool, the lock nut in the cap. Leave it alone from then on.
- Target: slide an M3 lock nut into the pocket of each lug of the carriage, on the inner side, then place the target between the lugs: it keeps the nuts in. On each side, screw an M3 × 12 screw through the lug (2 mm hex key) until its head seats. The end of the screw is the axle of the target.
- Cord: figure-eight knot in the well behind the target; the cord runs in the channel of the base, goes over the pulley and is tied to the handle of the bag. Weigh the full bag at 5.00 kg.
Adjust the cord so that the bag rests on the floor when the line is slack, and lifts off as soon as you pull.
Setting the offset in the trim tool
The tool asks for the distance between the attachment point of the riser and the target. On the bench, the whole riser is held on the spool: the axis of its screw is 21 mm from the face of the target, on the laser side.
Offset to enter: 21 mm.
Set the distance meter to measure from its front face: it sits flush with the nose of the holder.
Going further
- NOTES.md (in French): design choices, dimensions, prices recorded, variants set aside and what has been checked.
- The OpenSCAD models are in
scad/, the scripts that regenerate the STL files, the images and this site inoutils/. Repository: https://github.com/alexandre-pereira/trimming-tools, site: https://trimming-tools.wesoar.fr. - Nothing has been printed or tried under load yet: this is a model, not a tested product.